Alaia Surfboard Project – Post 4

Alaia Wooden Surfboard project: Post 1 | Post 2 | Post 3 | Post 4 | Post 5 | Post 6 | Post 6b | Post 7 | Post 8 Finis
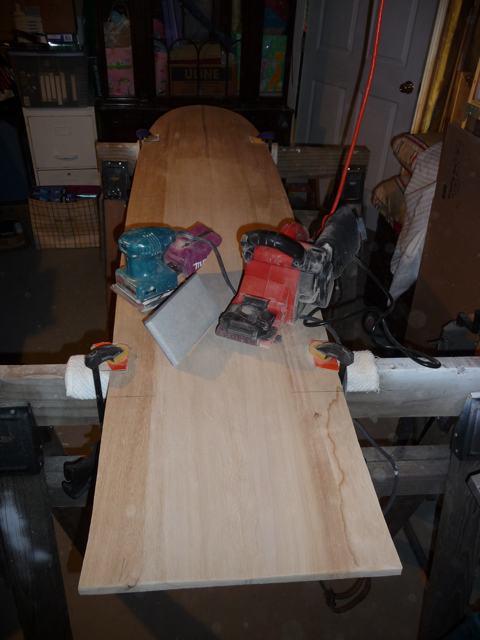
Mini Post: I’ve begun sanding the concave, but it’s hard to tell in pictures so I’ll do that in the next update. I started with the belt sander and formed the shallow ‘V’ in the center of the board. The concave should start a third of the way from the nose, so at 7′ overall, I started 28″ from the nose and worked my way to the tail.
I’m not exactly practiced at the belt sander and I removed more material in some areas than others. Before I go back to the belt sander and exacerbate the unevenness, I thought it best to hand sand a bit to get it more or less back to level. I’m working with 80 grit on the belt sander and 60 grit by hand (because it’s what I had). I’ll work my way up to 220 as I get closer to the final concave. When I start applying the linseed oil in phases I’ll sand before and between applications using 280-320 grit.
Looking at the board upside down and from the back the shape loosely resembles a bat. The lowest point in the middle, rising on both sides and then slightly dropping at the ends (see the picture of Rasta’s board in Post 1). The edge needs to be sharper on the bottom since the Alaia’s hold the wave that way (no fins here). When the sanding has progressed to a point where pictures clearly show what’s happening, the explanation above should hopefully be obvious.
Posted by: Lawrence

do you put the concave on the bottom or top. and do you leave the deck flat or do something to it?
concave on the bottom – starting about a third of the way down from the nose. See http://bitness.com/?p=414