Reading Time: 3 minutesAlaia Wooden Surfboard project: Post 1 | Post 2 | Post 3 | Post 4 | Post 5 | Post 6 | Post 6b | Post 7 | Post 8 Finis
In an attempt to experience a spiritual awakening like an ancient Hawaii commoner, I decided to try and build and surf a wooden Alaia surfboard (OK, well at least build one). Traditionally a 10-12 foot fin-less board that in ancient times were made from Ula and Koa trees, my Alaia will be about 7 feet and is shaped from a blank made from light and sustainable Paulownia wood that doesn’t absorb salt water.

I purchased two ‘Finley’ blanks (one for a friend) from Jon Wegner at Wegener Surfboards in California. Jon and his brother Tom, Surfing Magazine’s 2009 Shaper of the Year are selling the blanks here in America, but they are made in Australia where Tom lives. Purchasing the boards from the Wegner’s was a pleasure and if this project inspires you, I highly recommend you contact Jon for your blank.
Before the blanks arrived by UPS ground, I prepared my workshop with padded saw horses, jigsaw, belt sander, palm sander, hand planes, and sandpaper in assorted grits. I’m not sure I have every tool I need or is recommended, but I’ll cautiously remove material, especially the concave, which I’ll likely do in stages after sessions (assuming I have a feel for the board). Classic case of ‘you can always take off but you can’t put back on.’
When I unpacked the Alaia’s I was pleased to see the blanks arrived in perfect shape. I’m eager to begin the project, which entails cutting the blank to shape, shaping the rails and concave and finishing the board. There are a number of resources available on the web I’ll refer to, including Olosurfer.com and woodworking forums such as woodworkforums.com.
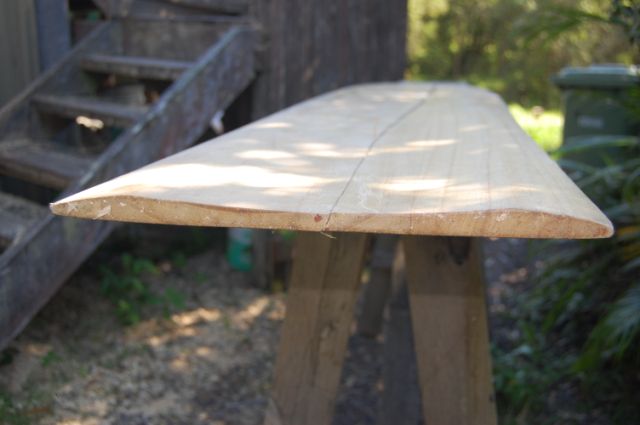
 When completed, the Finley should have, according to Wegener Surfboard’s model description, “a light roll on the deck and a concave running from the nose all the way to the tail. The concave is 3/8” deep.” (Note: Jon recommended I keep more material on the board and stay within 1/4″) “This really helps keep the board from sliding sideways too much and gives the board more traction in the face.
The goal of the board is to give it just the right amount of flex. With good flex, catching the wave is easier and the board more responsive to turning.” Tom was kind enough to share the photo on the above-left of Dave ‘Rasta’ Rastovich’s board. This board has far more concave than I’ll need, but it gives an exaggerated idea of the curves.
Over the next several weeks, time permitting, I’ll be working on the Alaia and posting my experience and sharing photos on Bitness. If anyone has built an Alaia or is an experienced woodworker and can offer sage advice, I welcome your comments here, both for my benefit and anyone else interested in the Alaia.
Posted by: Lawrence


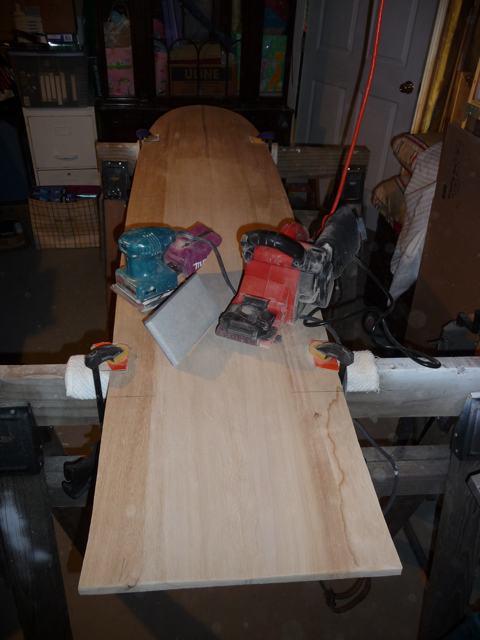
 Significant progress this weekend with the Alaia project. I cut the board to shape with a jigsaw, working in one direction. I said in the previous post that I wouldn’t cut the Stuth tail, but I had a change of heart. I like the side-cut it creates and given my 24 years of snowboarding I’m drawn to that shape (yeah, I’m that old and have boarded that long!).
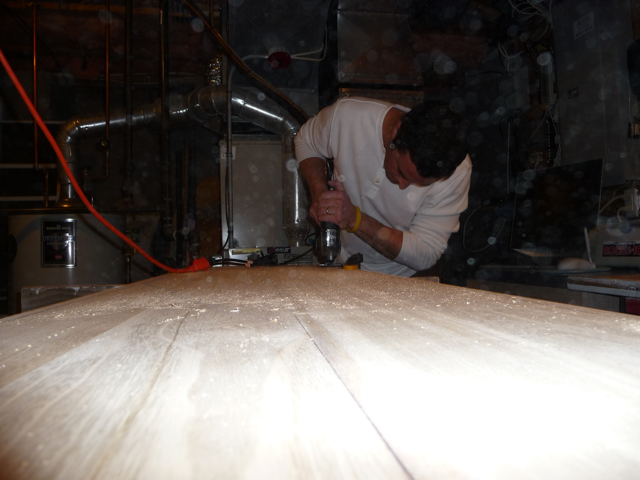
  Once I was satisfied with the shape, I used a pocket plane to put a 1/4″ bevel on the top edge (you can apply very light pressure since the Paulownia wood is so soft). Holding the plane at 45° and moving in one direction, I cut until Jon’s marks were no longer visible. After inspecting and small tweaks I flipped the board and transferred the center line which I’ll use to create the concave. I also transferred 3 perpendicular markings from the top of the board at 12″, 40.5″ and 70″ from the nose. I believe these marks were used to create the shape, but it can’t hurt to have them on the bottom.
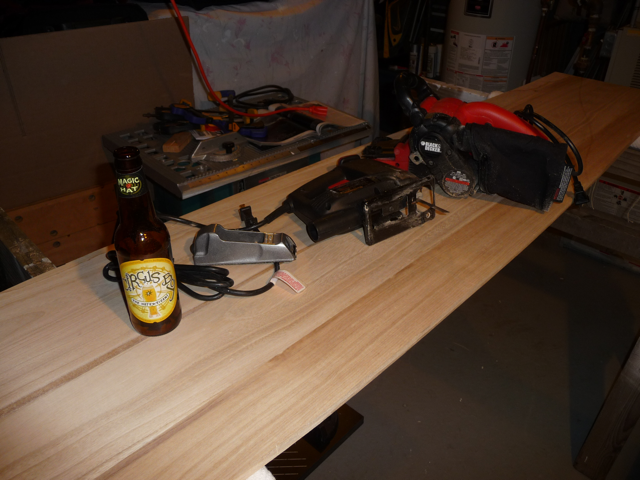
 These are the tools I used for this phase (a special thank you to
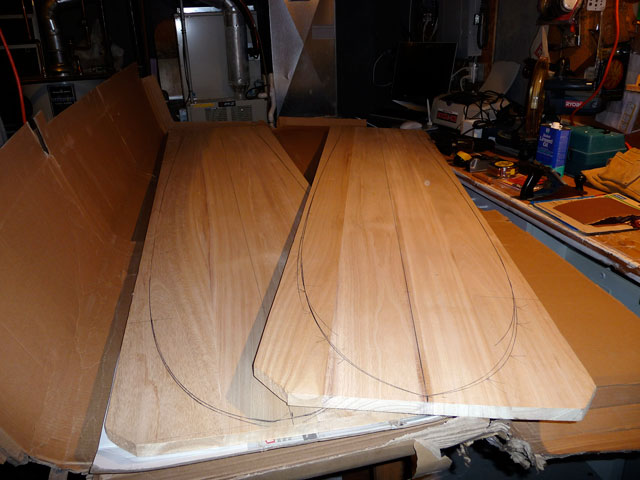


 Why would someone have a dog if they didn’t have time for it? Dogs need time to be outside, smell stuff, pee on stuff, roll around on stuff – it’s called being a dog. Can’t people put on a coat and put their “day-to-day activities” on hold for 30 minutes? Who wants to diaper a dog and shut themselves in for only the most agreeable conditions?
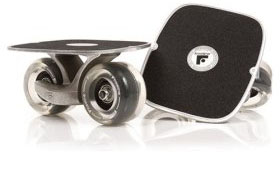


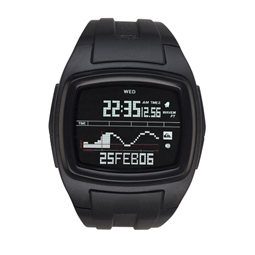
 Tides don’t affect the breaks I surf all that much, but at my favorite spot, low slack tide (between low tide and when the incoming tide starts) is probably slightly better. That’s all the reason I needed to go out and plunk $95 on a new